Top-Sellers
by State 2025
by State 2025

Unflavored MTS Vasky is your pre-workout "plus one." Add it to your favorite formula and pump up your gains. Order now.
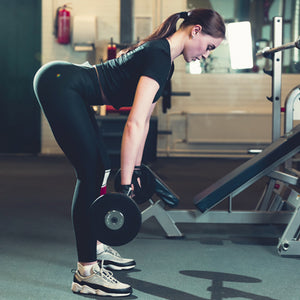
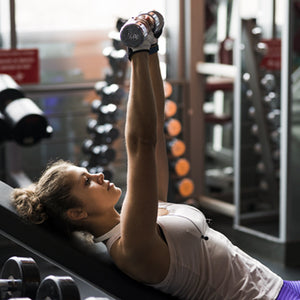
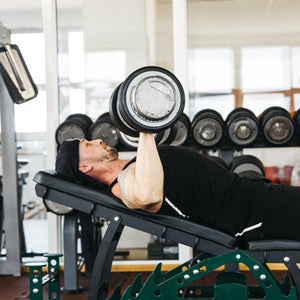
Determine whether you're going to perform this exercise with assistance, bodyweight-only, or with added resistance.
Common chest dip assistance options include a dip machine with a counterweight platform, exercise bands wrapped around each bar and the upper shins, as well as a training partner holding your shins and supporting you through sticking points. Common chest dip added resistance options include a dip belt holding a weight plate, crossing the shins to hold a dumbbell, wearing a weight vest, or wrapping chains around the upper body.
Once you've selected your desired resistance, approach the dip bars, they may be two free-standing metal bars, an add-on attached to a cable tower, or part of a standalone machine. The dip handles may run parallel to each other or made a V-shape.
Grasp the bars with a neutral or hammer grip (palms facing each other) wider than shoulder-width. A wider grip will increase chest muscle fiber recruitment and take some stress off of the triceps. Avoid taking an excessively wide grip as this decreases the range of motion and increases the likelihood of shoulder discomfort and impingement.
You can take a traditional grip (thumbs wrapped over the fingers) or a false grip (thumbs and fingers on the same side of the dip bars). Experiment with various grip type and width combinations to see what feels most comfortable and natural to you.
Now that you've set your grip type and width set up on the dip bar so that your arms and elbows are straight (but not hyperextended) and your shoulders are in-line with your hands. Your torso should be relatively upright with a slight bend in the hips and a 90 degree bend in the knees. This will be your starting position. If the dip bars are high off the ground, use a step or quickly hop up to this top position.
After setting your starting position take a deep breath, brace your abdominals for impact, squeeze your glutes, and begin lowering your upper chest towards the dip bars. Initiate this lowering by bending the arms and allowing the elbows to move in-line with or flare slightly outside the width of the dip bars.
During the descent begin leaning forward to engage the chest muscles and ensure your forearms stay perpendicular with the ground. If you find your elbows drifting behind your hands and forearms breaking perpendicular then you're not leaning forward enough and emphasizing the triceps rather than the chest muscles.
Continue bending the elbow and upper arm until you feel a nice stretch in the chest and shoulders. Depending on shoulder flexibility this depth will be at or lower than when your shoulders are in-line with your elbows. Hold this bottom, stretched position for 1 to 5 seconds.
Initiate the return to the starting position by flexing the chest and pushing through the palms. Continuing pushing the body upwards until you reach the original start position. Complete for the desired number of repetitions.
Some lifters choose to exhale while pushing up from the dip bars or in between in each repetition. Choose a breathing pattern that feels the most natural and comfortable for you. If something feels off your shoulders, triceps, or chest, then terminate the set immediately. This exercise can cause significant discomfort in those with shoulder flexibility issues.
This exercise can be performed using straight sets, pre-exhaust sets, rest-pause sets, supersets, trisets, giant sets, paused reps, partial reps, forced reps, or slow negatives. As with any exercise, the two most important components are high-quality form and progression. Progression can take a variety of forms (e.g. more weight, sets, or reps, decreased rest period, improved rep quality, etc?) but strive to improve every training session.
{"one"=>"Select 2 or 3 items to compare", "other"=>"{{ count }} of 3 items selected"}